Managing Birch Stands for Biodiversity: A Forestry Checklist
Birch is generous. Scratch the ground, leave a seed tree, and within a few seasons there is a wood. The trouble comes later. The canopy closes into a ceiling of even-aged stems, bramble and willow give up beneath it, and a stand that looked full of promise becomes a green corridor with very little living in it. Birch woodland is at its richest when it is uneven: a mix of heights, a few gaps, some old trees, some dead ones, and a soft, ragged edge.
What follows is a working checklist, arranged in the order you would actually do the work. It suits silver birch on dry, sandy ground and downy birch on the wetter, peaty margins, though the balance shifts between the two. Take what fits your site and leave the rest.
Walk the stand before you mark a single tree
Arrive without a marking can in your hand. Walk the whole wood first, in leaf-off if you can, then again in early summer when the ground flora and the birds tell you what the canopy is hiding. What you are looking for is variety — where it already exists, and where it has been flattened out. Note down:
- Age structure. Is it one cohort or several? A uniform stand of middle-aged birch is a candidate for gap creation. A stand with saplings pushing through is already doing the job.
- Species mix. Silver and downy birch, plus any rowan, oak, aspen, alder, willow or holly that could become the next generation of mature trees.
- Ground flora and grazing pressure. Look at the browsing line on the regeneration. If nothing has grown above knee height for years, thinning alone will not fix it.
- Deadwood, standing and fallen, and how much of it is genuinely large.
- Constraints. Nest sites, footpaths and benches, boundary walls, overhead lines, and any species that needs a licence or a specialist survey before work begins.
Then sketch the stand on paper and mark the areas that are already good. The best management decision is often to leave those alone and spend your effort elsewhere.
Thin for structure, not tidiness
Mark the trees you are keeping, not the ones you are removing. It sounds like a small distinction, but it changes the result: you end up with a stand you have designed rather than one that has been tidied into a plantation with wider rows.
- Choose your final crop trees first — vigorous, well-formed stems with room to develop a full crown. Flag each one and work outwards from it.
- Protect the minority species. A single rowan or oak left standing in a birch crop is worth more to wildlife than a dozen extra birch.
- Mark some patches to stay unthinned. Dense thicket is habitat too, and an over-tidy wood loses the cover that small birds and mammals need.
- Take the remainder in one pass, but keep it modest: a fifth to a third of the basal area is plenty. You can always come back; you cannot put a tree back.
Cut stumps low, avoid tearing bark on the retained stems, and think about where the brash lands. Working on dry or frozen ground limits soil compaction and damage to the ground flora you are trying to encourage. Aim to fell between late September and February, outside the main bird breeding season, and stop if you find an active nest. If there is any doubt about protected species, take advice before the chainsaws arrive.
Treat deadwood as a crop, not as waste
Birch rots faster than oak, which is exactly why it is useful: it feeds the soil quickly, supports a specialist community of beetles and fungi, and then it is gone. That means deadwood has to be replenished at every intervention, not simply left over from the last one.
- Standing dead stems in a range of decay stages — a handful per hectare where it is safe to do so.
- High stumps cut at one to two metres, which dry out and are used by insects and cavity-nesting birds far more than ground-level stumps.
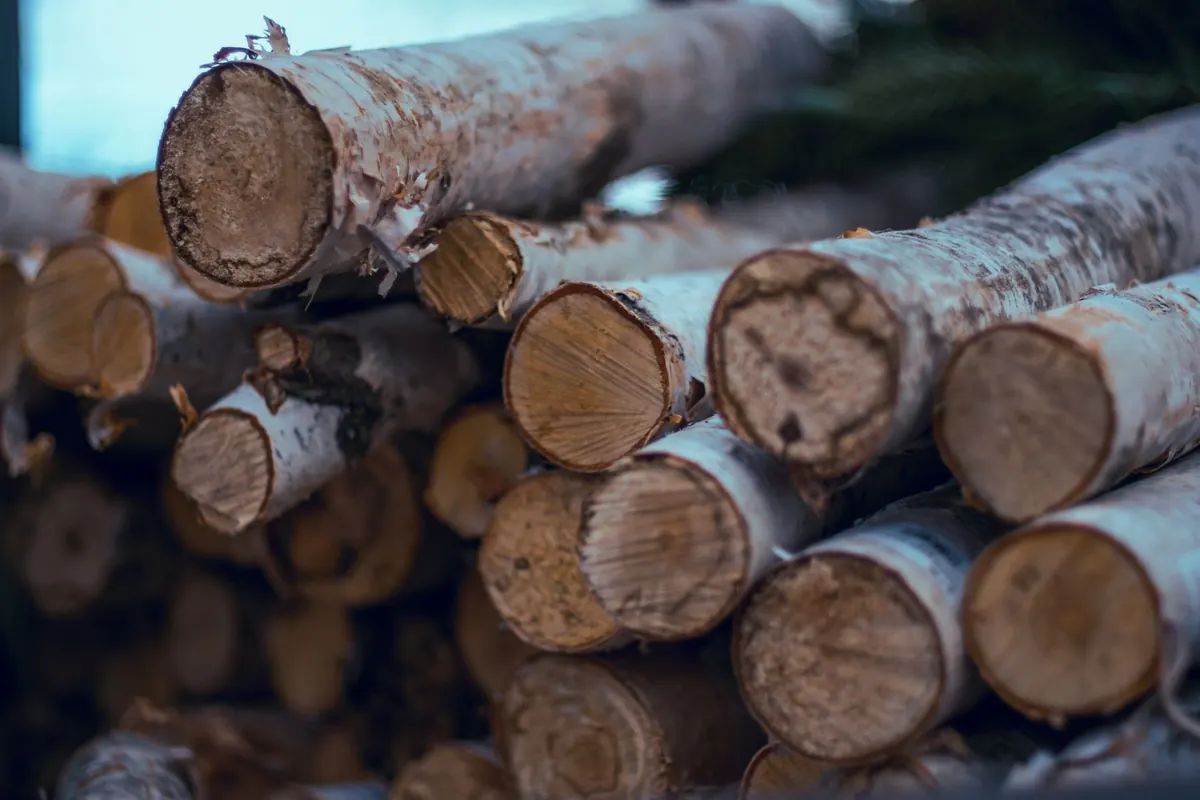
- Fallen logs, especially the large ones, left where they lie rather than dragged to the ride and chipped.
- Brash piled in a few dense heaps instead of spread thinly over the whole coupe.
- Windblown root plates, left attached where they present no hazard.
Where you want standing deadwood but have a stem in an awkward place, ring-barking a tree and leaving it to die in situ gives you a slow, safe supply. The one thing to take seriously is targets: dead trees near paths, car parks, roads or boundary walls are a liability, not a habitat feature. Have those assessed by a qualified arboriculturist and remove anything that is genuinely unsafe. Never leave a hung-up tree behind at the end of a job.
Open the understory in small patches
Birch casts a light shade compared with beech or sycamore, which means the ground flora beneath it is only ever one or two seasons away from responding. Small gaps do most of the work. Think in terms of opening a hole roughly two tree lengths across, in a handful of places, rather than one large clear-fell.
Scarify the soil lightly in part of each gap to expose mineral seedbed — birch regeneration needs bare ground and light, and so do the pioneer plants that follow it. Keep some bramble and tall herb patches; they are nesting cover, nectar and winter shelter in one. Retain holly and honeysuckle where they occur. And check the grazing: if deer or livestock are taking every seedling, fence a couple of small monitoring plots, then decide whether a larger exclosure or a change in grazing management is needed. Without that step, everything above is expensive gardening.
Soften the edges
A birch wood that stops abruptly at a mown verge or a fence line has lost one of its most productive zones. The transition between canopy and open ground is where a great deal of foraging, nesting and basking happens, and it is cheap to create.
Widen the boundary into a graded band — tall trees, then scattered birches, then scrub and bramble, then tussocky grass — over five to fifteen metres where there is room. Cut the edge in shallow scallops rather than a straight line, and let some of those scallops face south or west to catch the sun. Where a hedge or shelterbelt runs nearby, keep a corridor of scrub linking it to the wood so that insects and small mammals are not marooned in isolated patches.
Keep a record you will actually use
Management advice is only as good as the follow-up. Take photographs from three or four fixed points before work starts, and again a year later. Sketch the retained trees and the new deadwood onto your map. Note the dates, the weather, and what you intended each gap to achieve.
Then go back. A birch stand can change faster than almost any other wood: the canopy you opened in one winter closes noticeably within five or six years, and deadwood you created is already softening. What looked generous at the time is usually barely enough by the time you return.
The five-year habit
Few owners can do everything at once, and they do not need to. A little work, repeated on a short cycle, beats a single ambitious intervention that is never followed up. Keep these five things in view:
- Return every five to seven years, in autumn or winter, with the last map in hand.
- Create some new deadwood on every visit, and check the old stuff is not a hazard.
- Open one or two small gaps rather than thinning uniformly.
- Check regeneration before anything else — grazing is the usual culprit if there is none.
- Leave the messy bits. The tidy corner of the wood is almost always the least interesting one.
Do that, and the wood stops being a crop of stems and starts behaving like a habitat: a bit ragged, a bit unpredictable, and full of things you did not plant.
Photo: Chris G / Pexels